

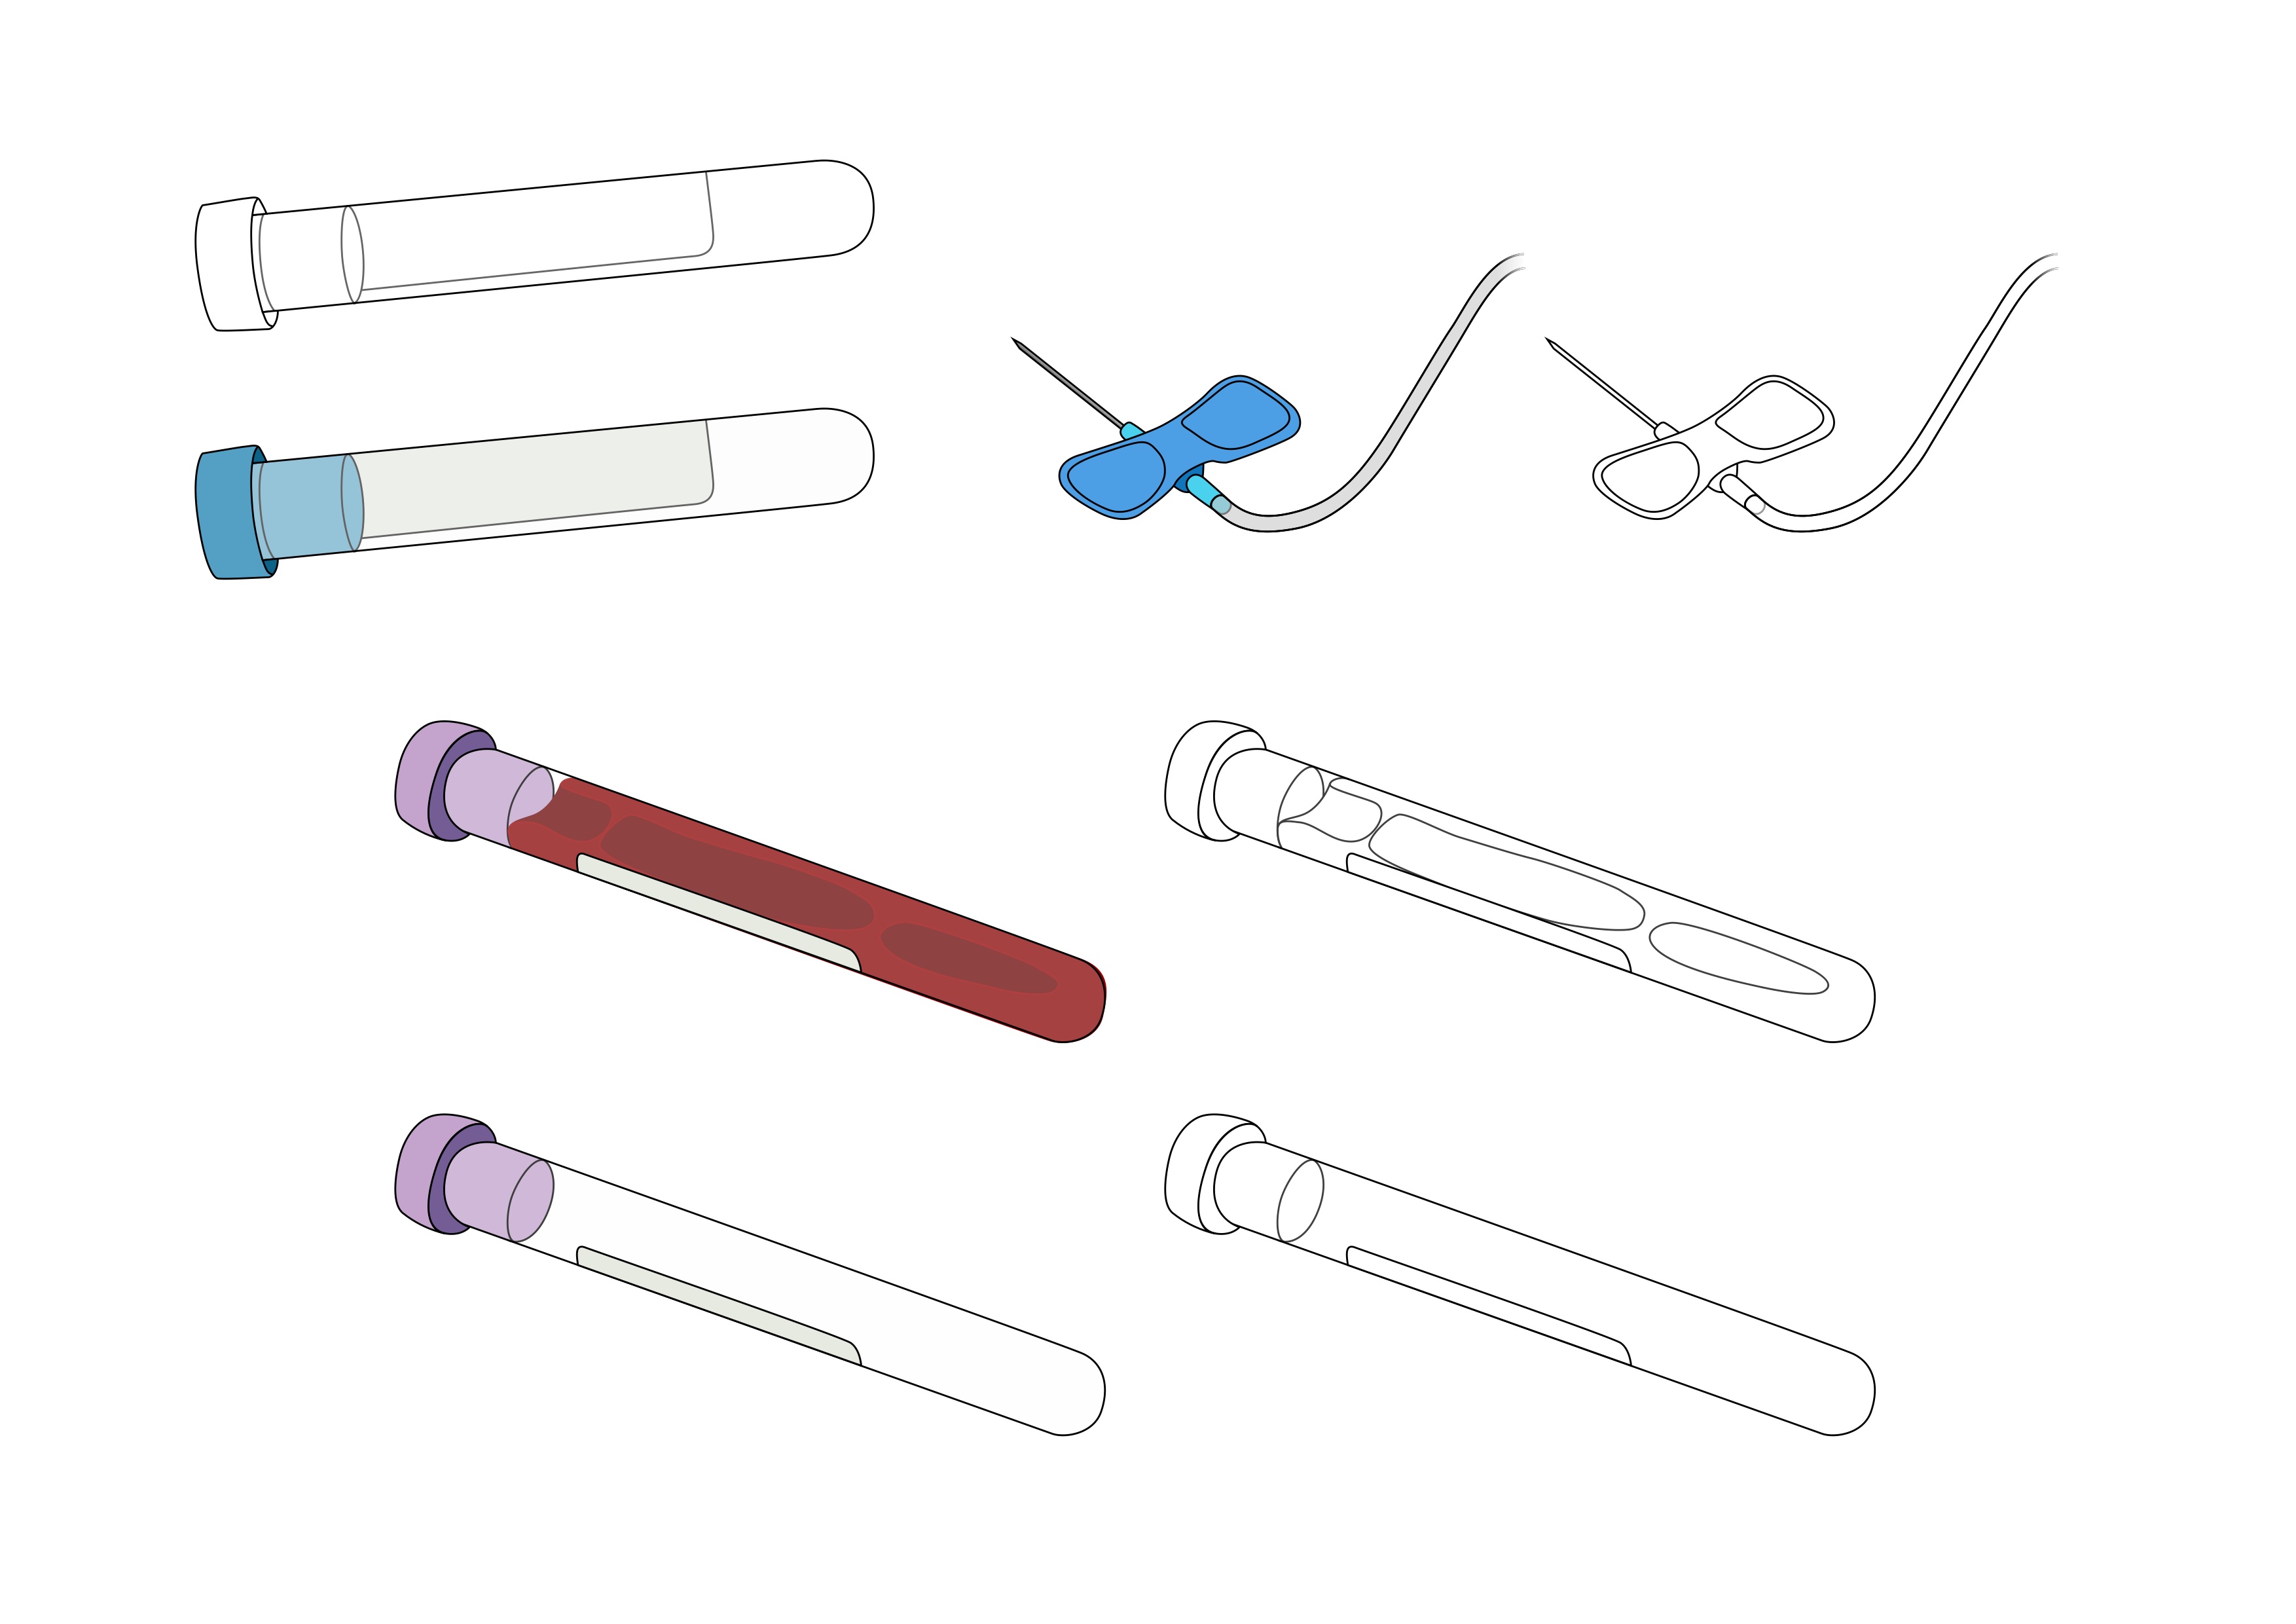
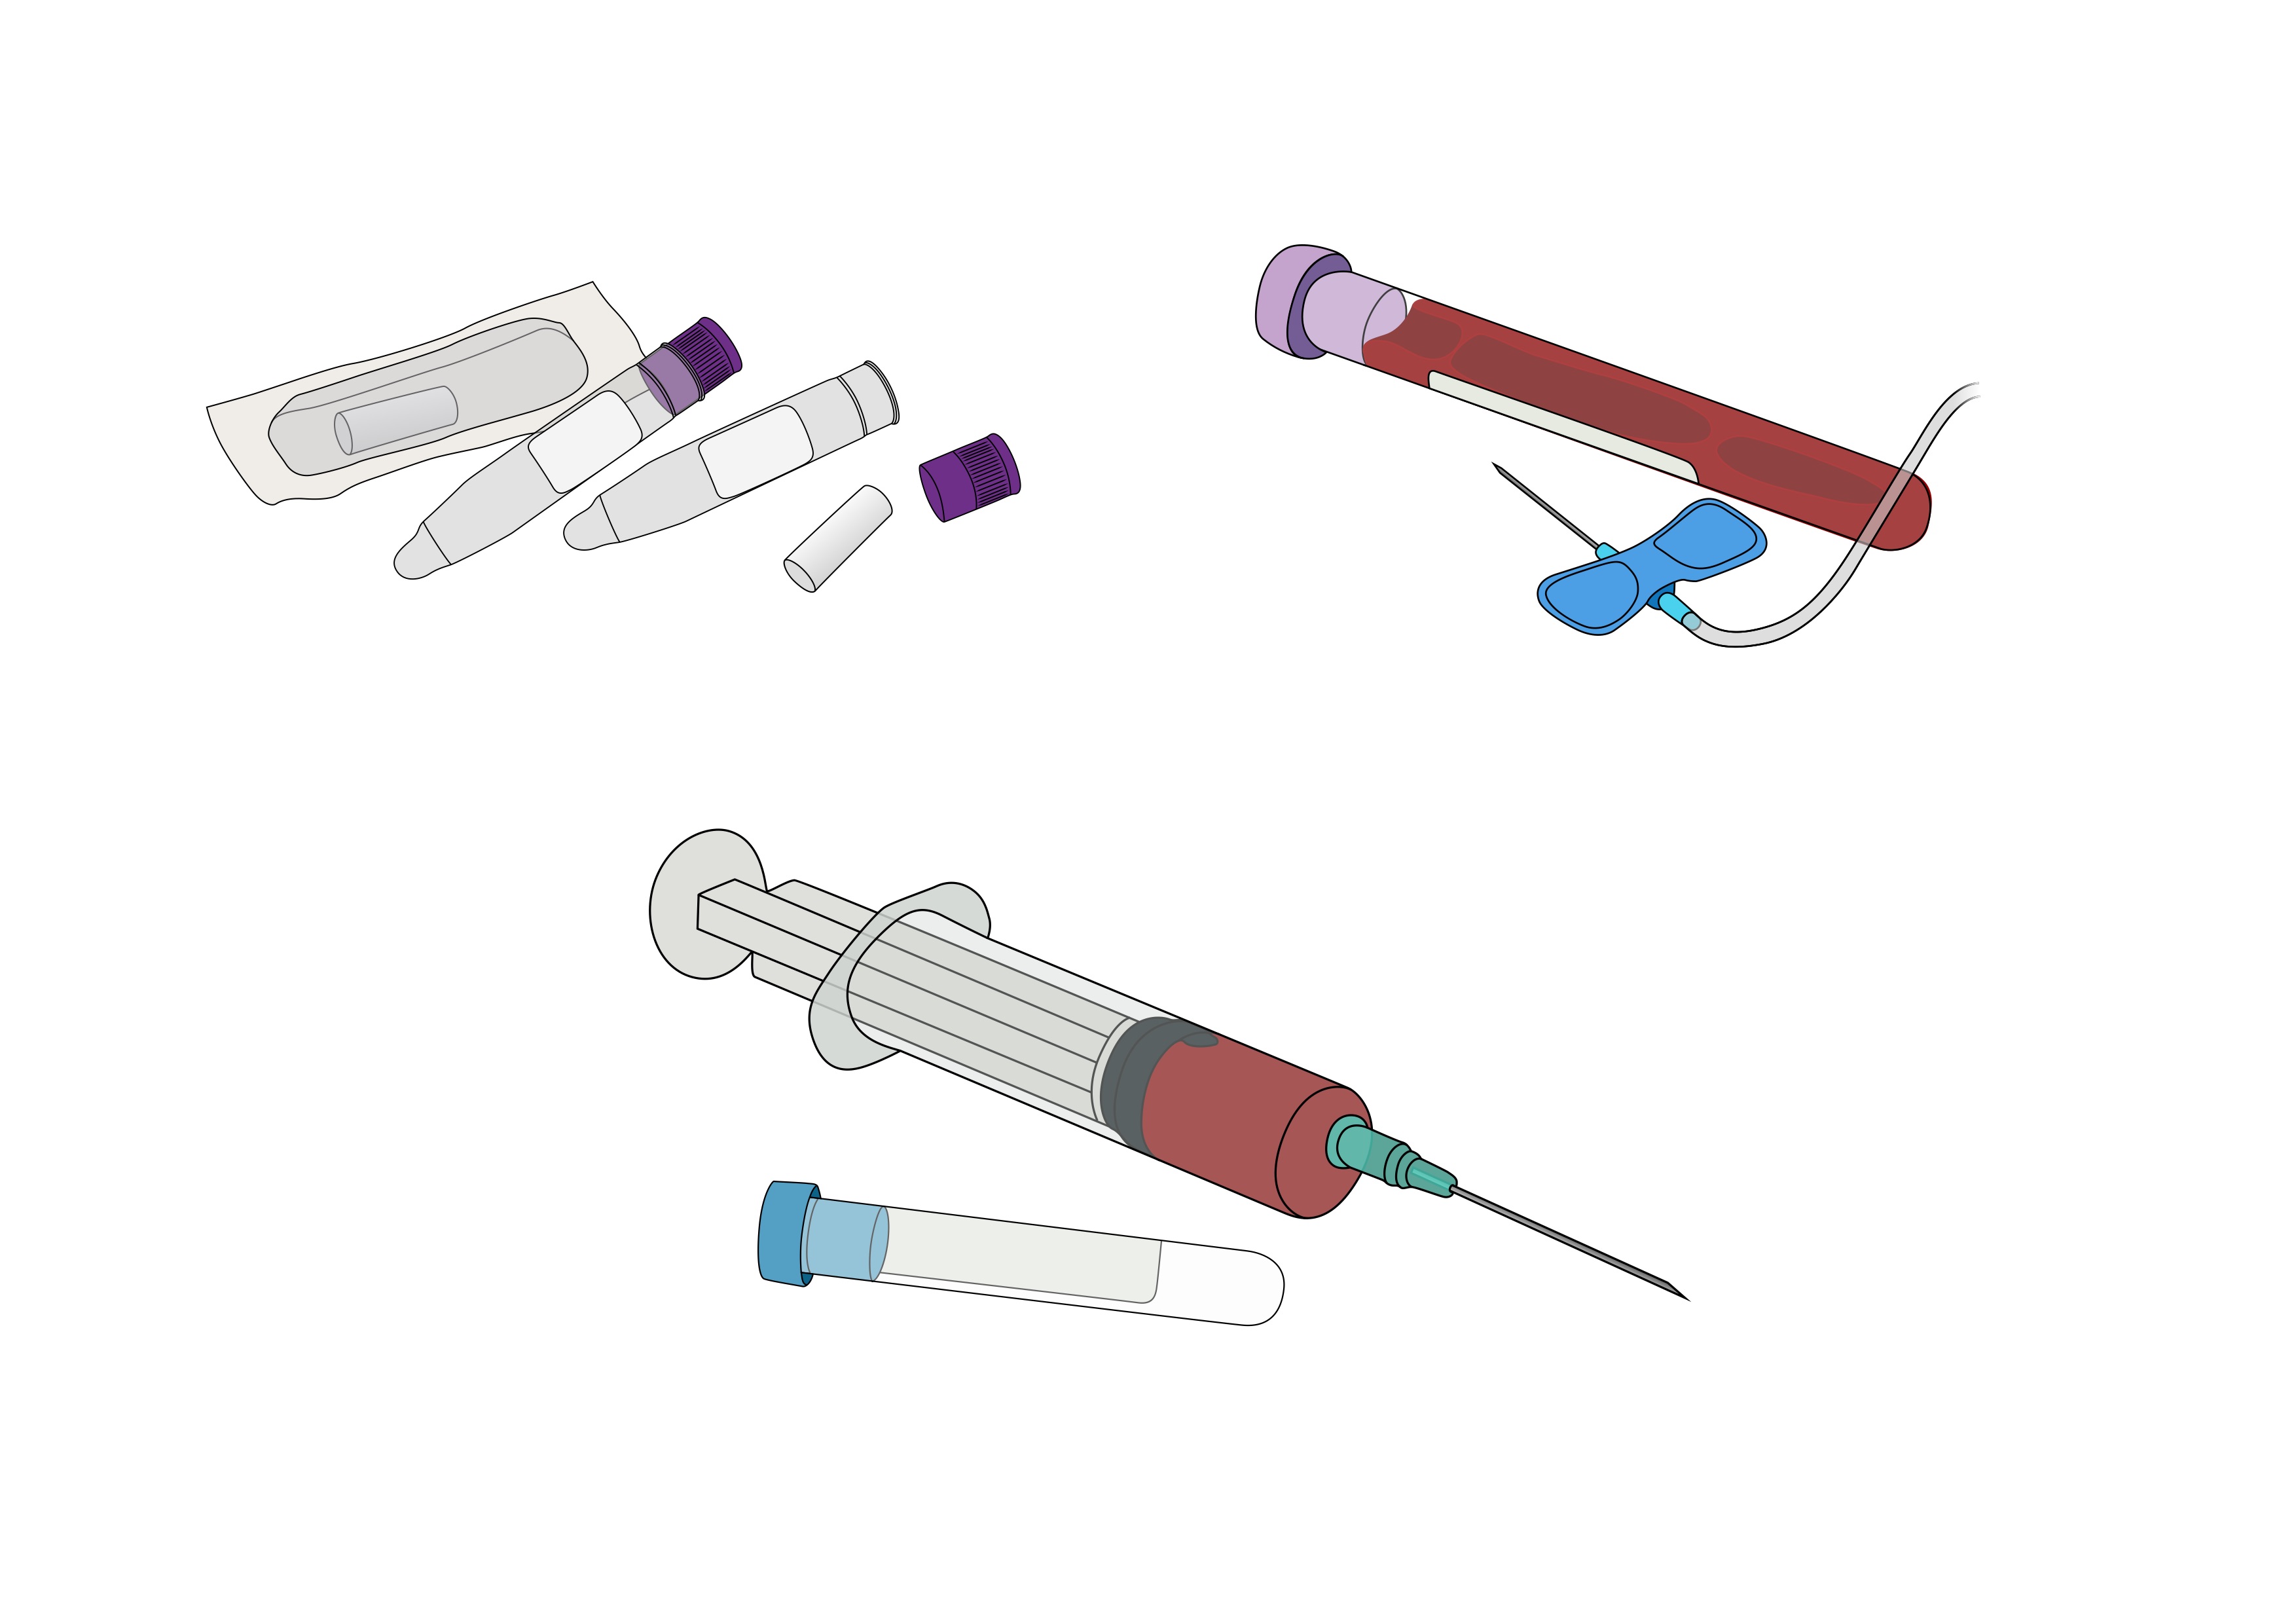
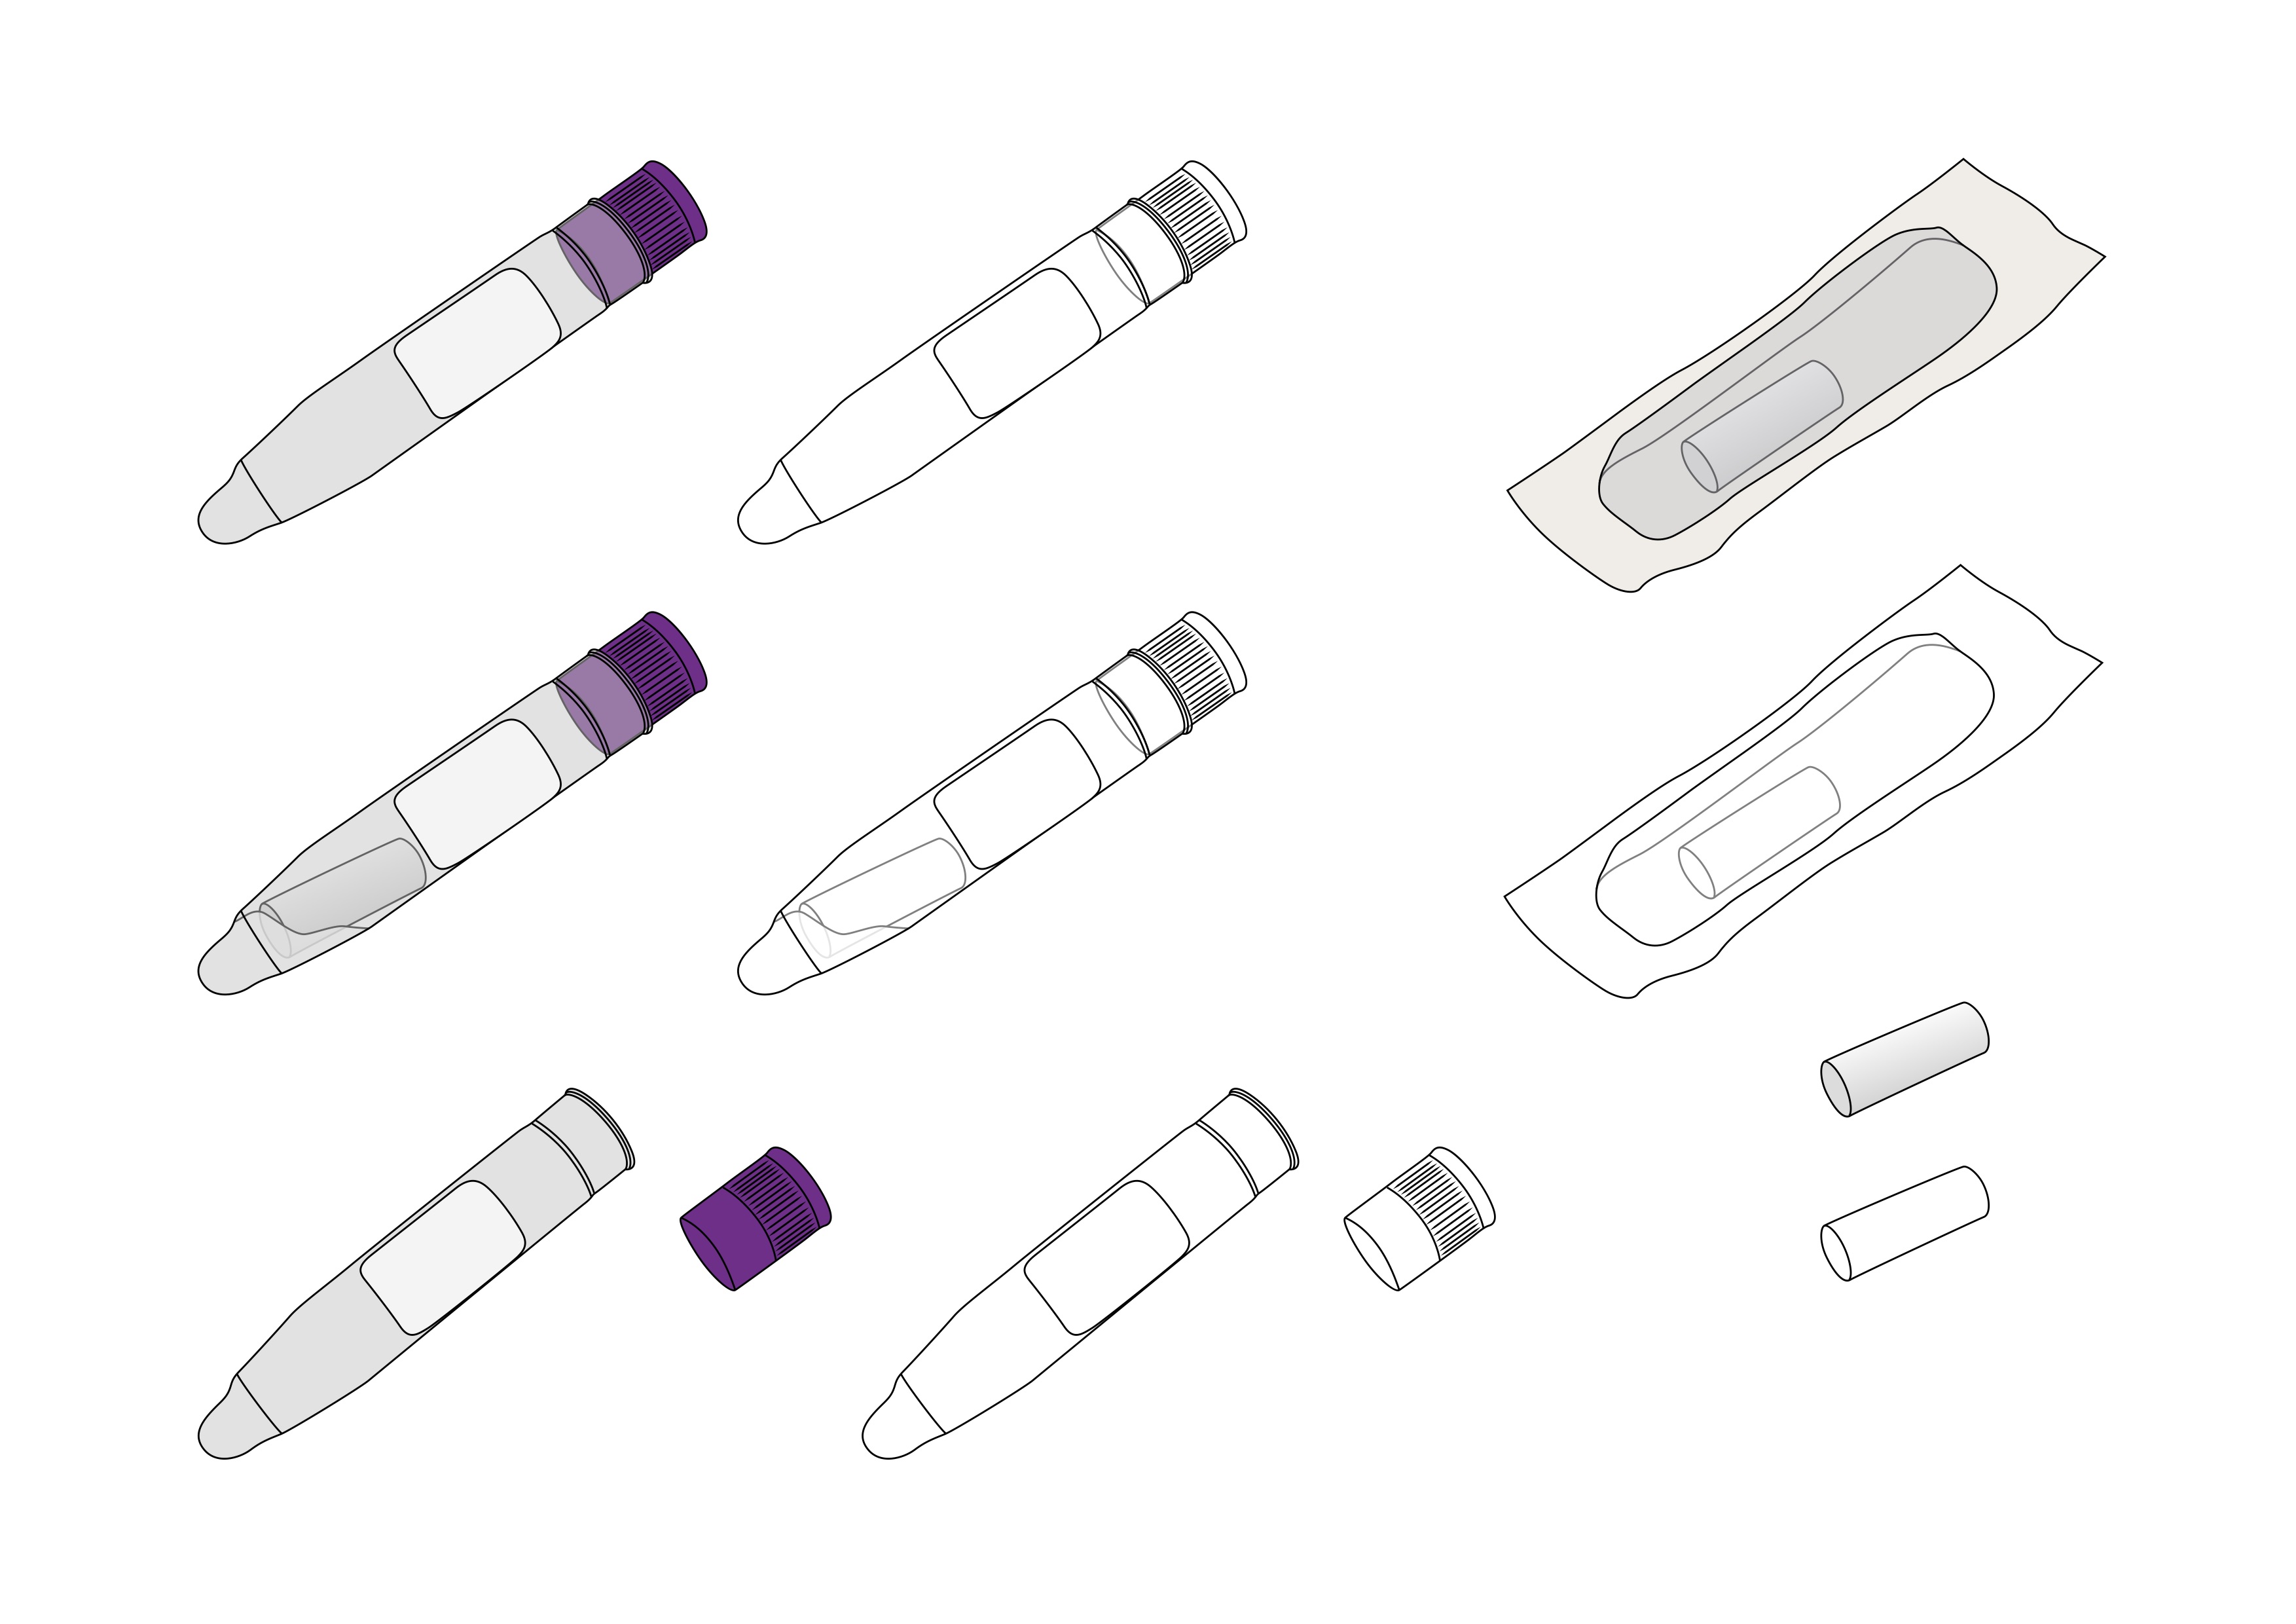
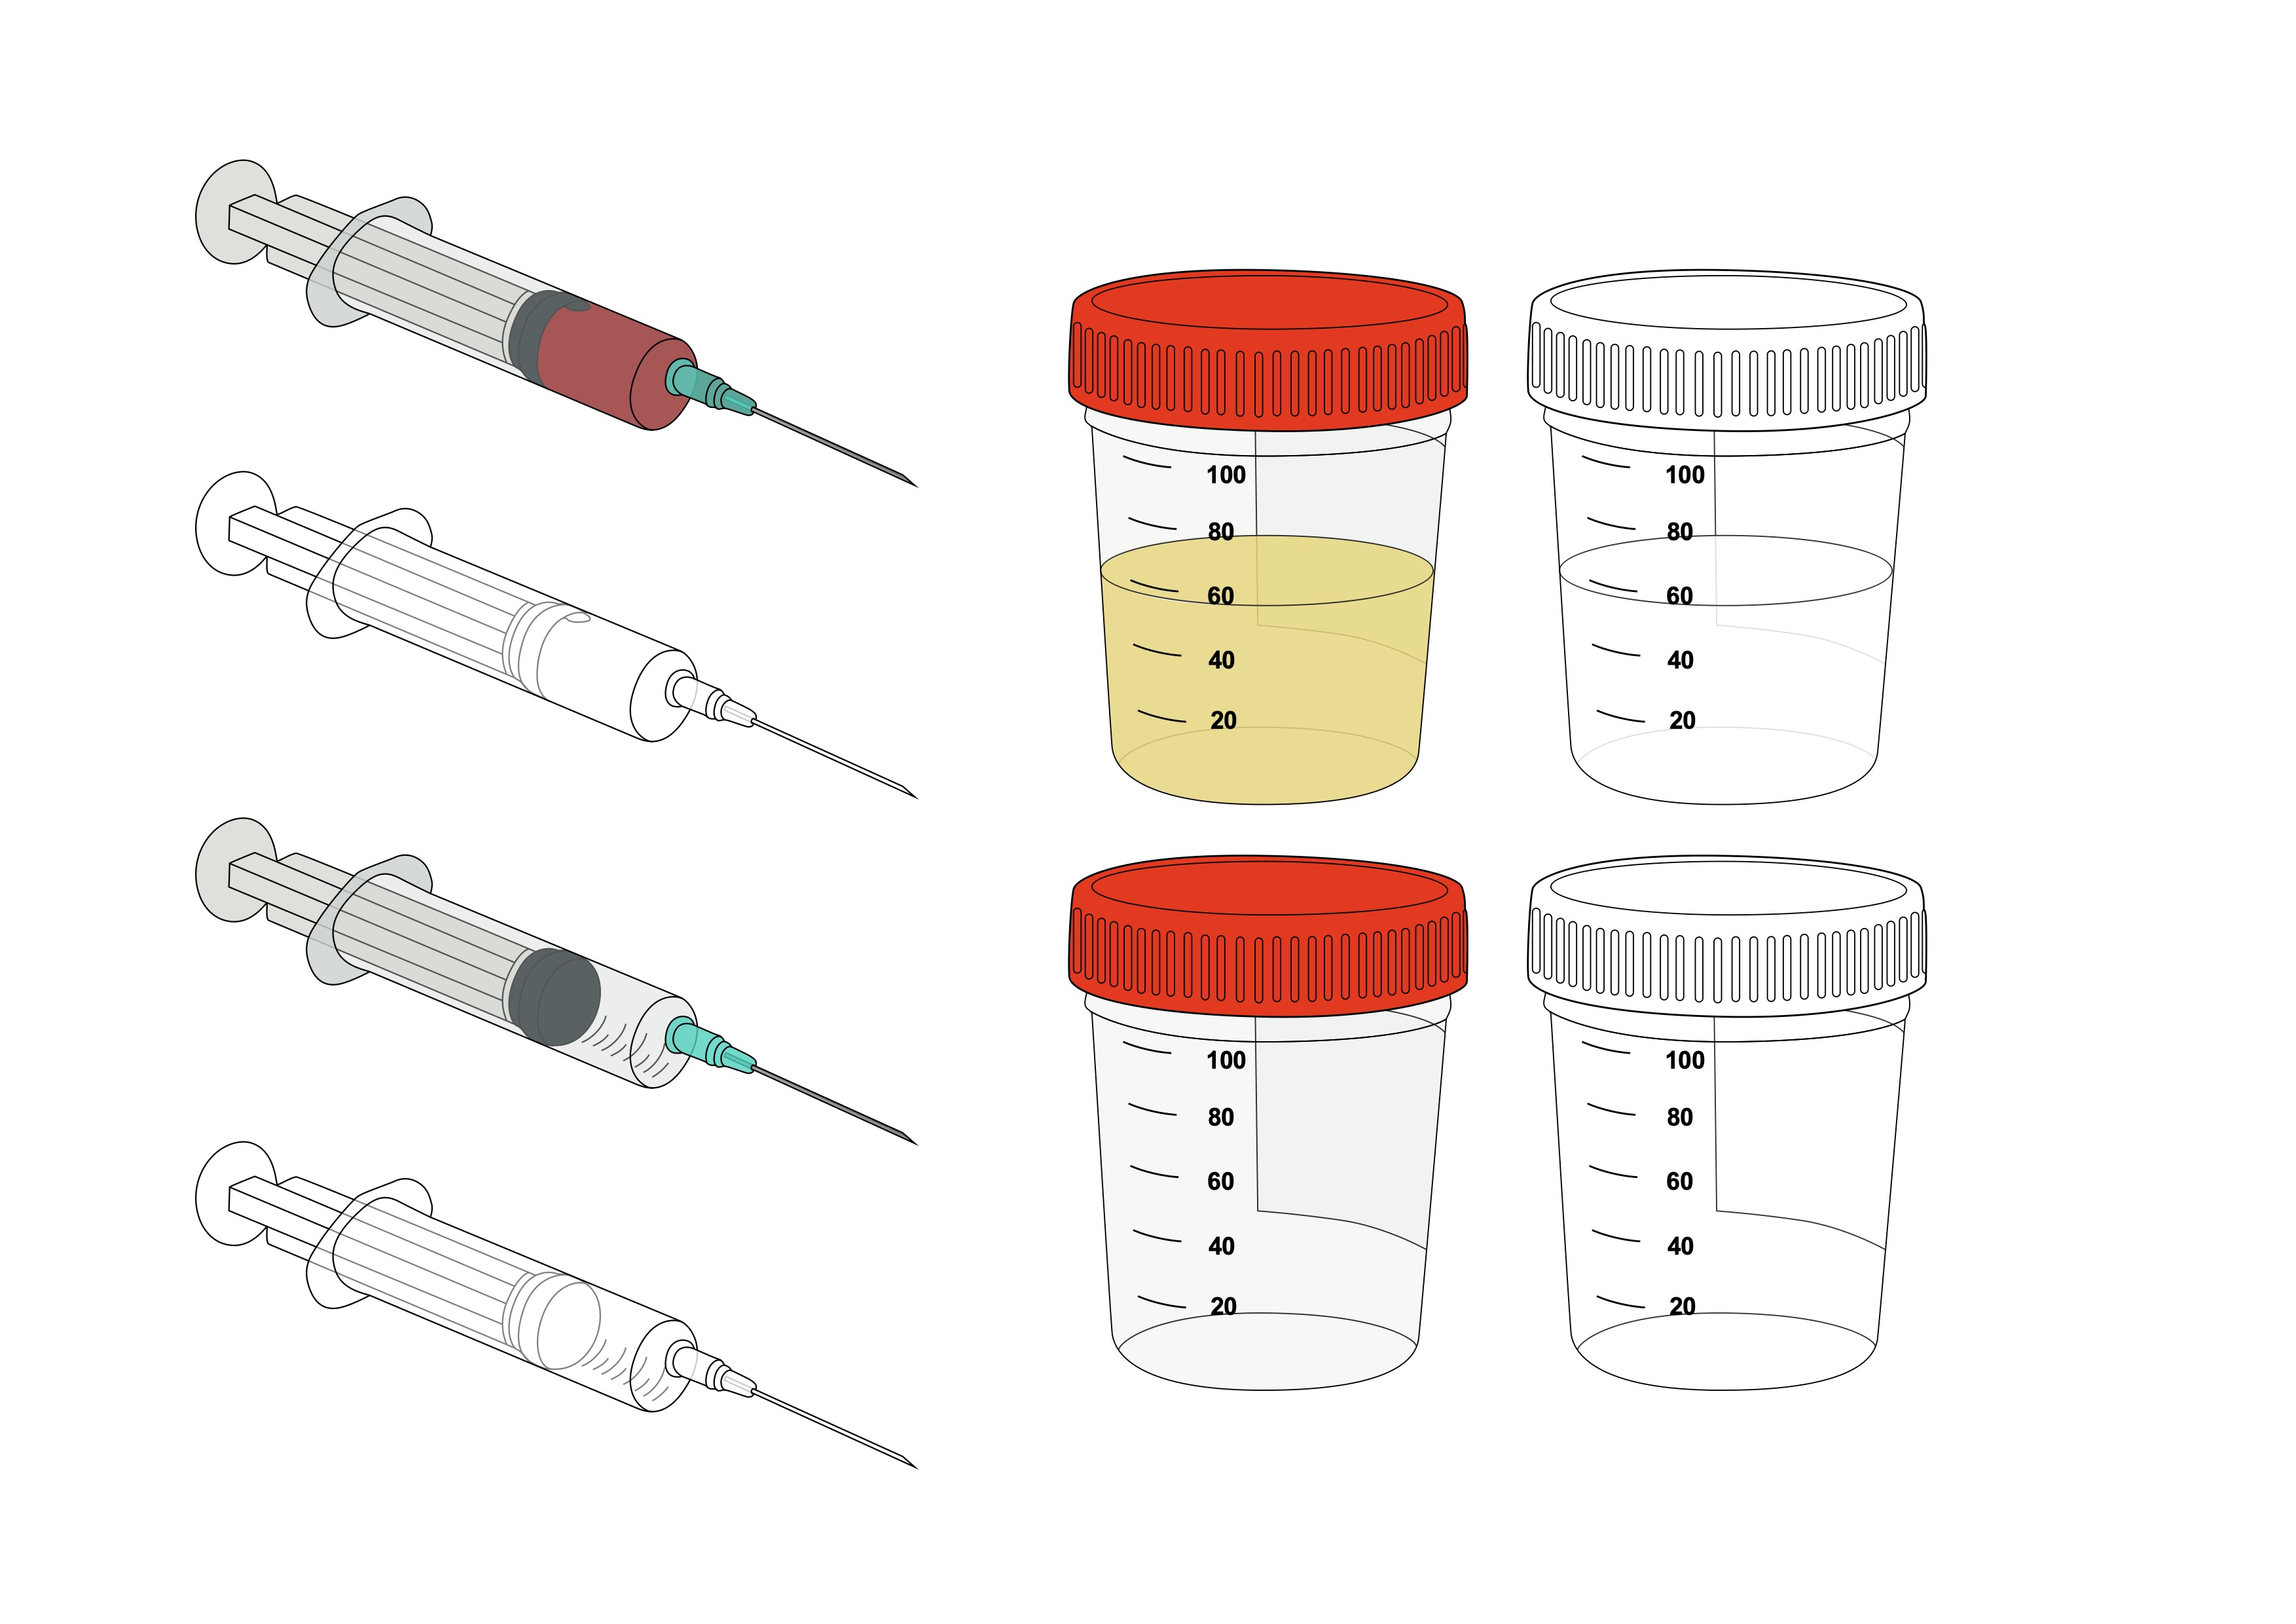
To create images that could be used to represent the sampling of blood, urine and saliva, Gill collected reference photographs from the internet that could be used as guides for drawings made in Adobe Illustrator. Gill uses the layer functionality in Illustrator to create visual elements that can easily be adapted and edited. Each element can be shown either in full colour, or as a black and white outline drawing, and sample tubes, pots and syringes can be shown as either full or empty, simply by toggling the visibility of layers within the same Illustrator file. How this is done is explained in this blog post from Gill’s previous work with the CNS, in 2018.
Gill created the range of images shown below, for use in the PIS modules. The intention is also to create ‘greyscale fill’ versions of the images. Simply converting the colour images to greyscale does not always result in an optimum image for black and white printing (as explained in this earlier blog post), so the greyscale fill images will be created specifically so they work well in terms of their visual communication.
Meanwhile, Gill had taken the text content of the CNS patient information sheet (concerned with bipolar disorder) and added it to a PowerPoint file. Each module has its own slide or slides, with two thirds of the slide for text and one third for images. A footer area was created on each slide for the ‘page’ number and the PIS reference information.
In the initial meeting held to discuss the modules, it had been agreed that some kind of coloured background, to distinguish the sections of the PIS, would be useful. However, having now created the sampling images, it became obvious to Gill that a white background would make it much easier for text and images to be integrated, as well as ensuring maximum legibility. Therefore, a coloured stripe was added to the left edge of the slide, to act as an identifier but without interfering with either text or image. As this stage, the colours were chosen from the King’s official colour palette, but these can easily be changed if necessary. The font being used is currently Arial, chosen because it is readily accessible to all King’s staff as well as being easy to read, but that choice can also be reviewed at a later stage. The coloured text was added by Gill simply as a reminder of the module number and the images that may be included in that module – this text would not appear in any final PIS.
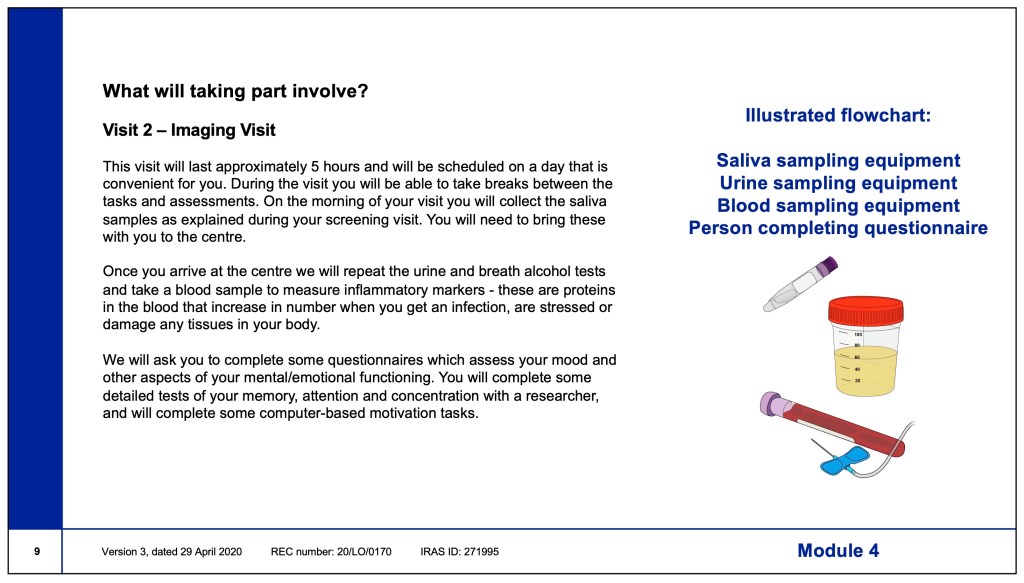
Gill added some of the sampling images to the relevant modules, to see how they could look in the slides, with one of the slides for Module 4 shown below.
The PowerPoint file and the sampling images were then sent to Giovanna for review and feedback. She agreed that sticking with a white background would be best and liked the use of the coloured stripe. Gill had wondered whether 4:3 format slides would be a better choice than 16:9, but it may be a case of supplying template modules in both formats, as well as in Word document format. Gill suggested that the module content should be finalised using the 16:9 slide format first. She will create templates for both 4:3 PowerPoint slides and Word, and the finalised content can then easily be copied across and adjusted where necessary.
Giovanna thought that including an image of a syringe for blood sampling may be off-putting for patients, a concern that Gill had also shared. Giovanna suggested that an image of a clinician taking a blood sample from a patient might be better and Gill agreed to create one. The syringe and needle images will be kept in any case, and added to an image library, as they may be useful for other situations.
Next steps …
Gill will continue to create images for the other PIS modules. As drawing the more complex images, particularly those showing people, can be quite time-consuming, her intention is to create the b/w outline images first. Then, once the images have been agreed upon, she can add the colour and greyscale fill layers. She will be sending regular updates to Giovanna and Mattia, to get feedback on the images, and posts will also be added to the blog.

One Reply to “”