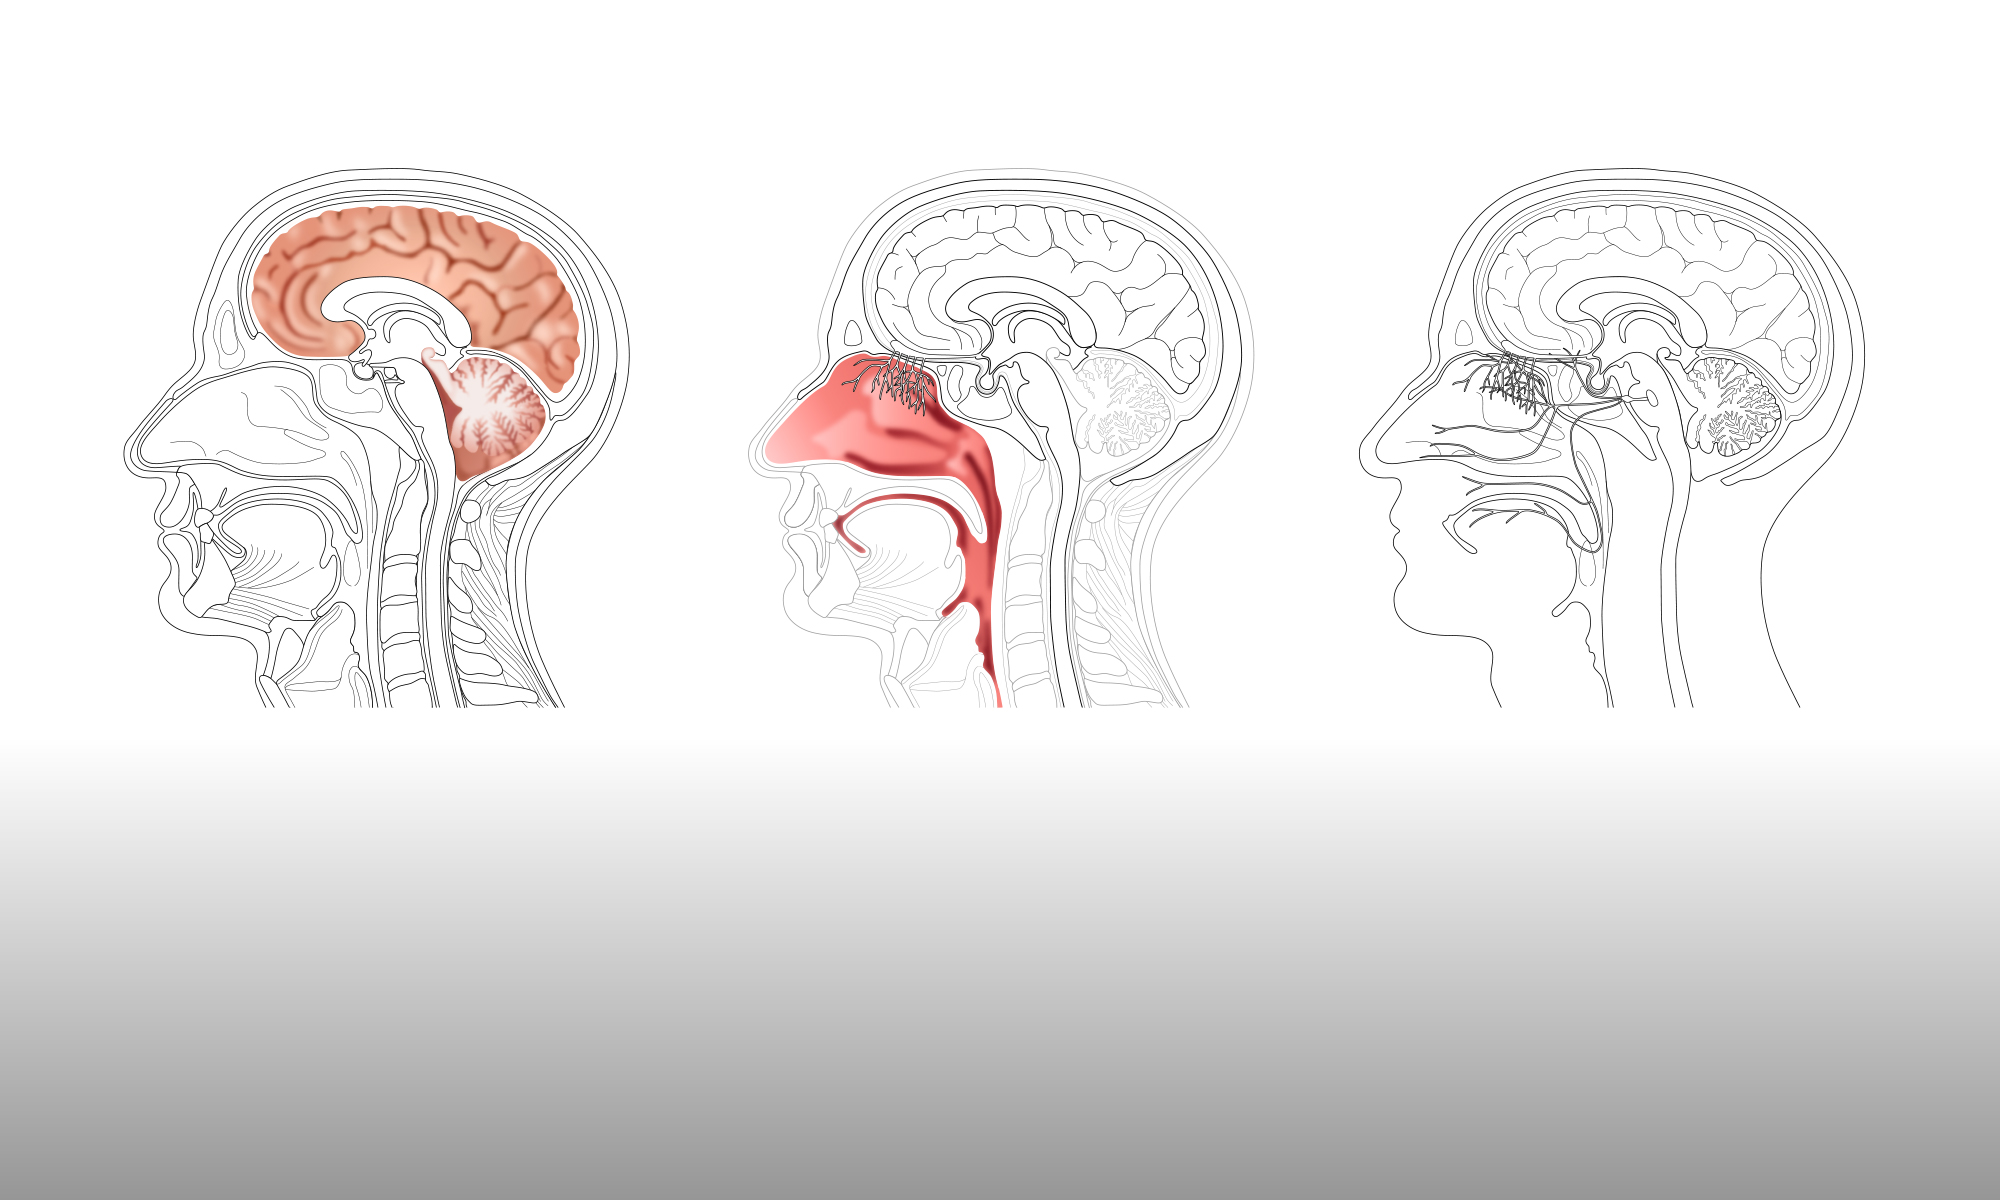

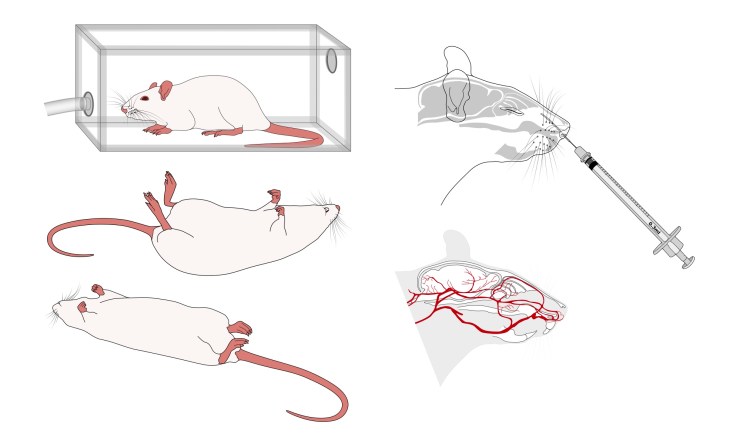
Following one from Gill’s meeting with Nisha (summarised in this blog post) Gill produced a revised set of visual elements that Nisha could use to construct her conceptual figure. Some of these were revised and edited versions of elements that Gill had produced before (see this blog post), as shown in the header image to this post. Others, such as the PET scanner and additional versions of the laboratory rats, were drawn from new, although retaining the same visual style and colour palette as the previous images. All of the revised and new images are shown below:

Some of these elements already combine two Adobe Illustrator files – such as the rat standing in the anaesthetic box. Other elements will have to be combined in Illustrator by Nisha in order to construct her conceptual figures, and text and annotation will also have to be added. Gill supplied the files to Nisha in a format that should have been readable in her older version of the Illustrator software, although this proved not to work at the first attempt. Providing the files in the latest format of Adobe Illustrator Creative Cloud, and ensuring that all the layers were visible and unlocked, seemed to resolve the issue. However, providing compatible files may be an issue if old versions of Illustrator are still being used.
Gill has created all of the Illustrator files to be as adaptable and flexible as possible, in terms of using layers to divide up the elements and make them easy to edit. Outlines and colour fills are kept on separate layers so that they can be easily switched off. For example, the rat head with syringe, and rat head with a blood supply, use essentially the same Illustrator file, with the rat’s facial features switched off in one, the outline and fill of the brain, nasal cavity and head swapped around, and the syringe replaced by the blood network. This automatically gives a visual consistency to the figures, and should make it easier for an audience to relate one to another.
Gill has also made the elements quite detailed, possibly more detailed than is necessary for Nisha’s figures, bearing in mind how small they may have to be in the printed journal. However, the files are designed to be easily simplified, with the interior details of a cannula or scanner, for example, drawn on separate layers from the main outline so that they can be switched off if necessary. Having the detailed versions of the visual elements available means that they can be used in circumstances where the figures may be larger, such as when used online or in a PowerPoint presentation. It is much quicker to simplify a complex image than to add detail to a simple image, provided the complex image has been created with that in mind.
Prior to her meeting with Nisha, Gill had some concerns about the anatomical accuracy of the visual elements that show the internal view of the rat’s head. However, as the figure that will use the rat head will be a schematic, rather than an anatomical, representation, the image does not have to be entirely accurate. Indeed, the blood network representation may well be simplified further for use in the figure.
Now that Nisha has all of the required visual elements, the next stage will be use them to construct the two conceptual figures for her paper. Nisha will have a first go at this and see how she gets on …

4 Replies to “Constructing a conceptual figure using visual elements – part 1”