

The figure describing the delivery of oxytocin, described in this blog post, requires as one of its visual elements an image of a male human torso, as described in this blog post. Gill has created an Adobe Illustrator file that can be used to produce a wide range of torso images, suitable to represent either male or female reproductive systems and with a complete set of internal organs. Although the images are anatomical in appearance, it should be noted that they are intended to be schematic representations, rather than to be anatomically accurate.
The main Illustrator file is shown below, with the list of layers that are used to create the image. Each body part is drawn on a separate layer, that can be made visible / invisible by simply toggling the eye icon in the layer window. The layers are named to make it easy to identify its contents. All of the layers are visible, although the example on the left has only the male reproductive organs visible and on the right, only the female reproductive organs are visible.. The outline of the torso has also been changed slightly for the male example, to accommodate the reproductive organs.
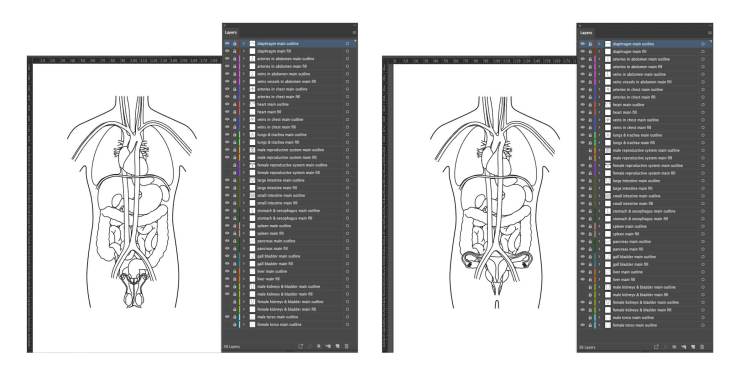
Note that each body part actually has two layers dedicated to it, one that contains the outline of the object and a second layer, directly beneath it, that contains the ‘fill’, that is the colour that fills the outline. The outline and fill of an object are usually defined on the same layer in Illustrator, but keeping them separate in this way makes the file much more flexible. In the examples shown above, the fill colour is white, which means that, for a white background, the torso appears as an outline drawing.
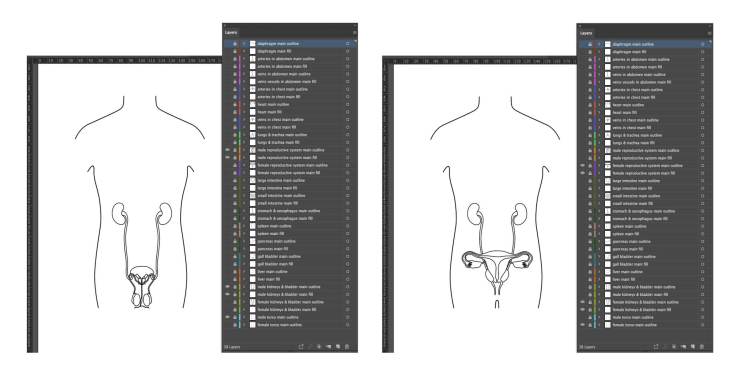
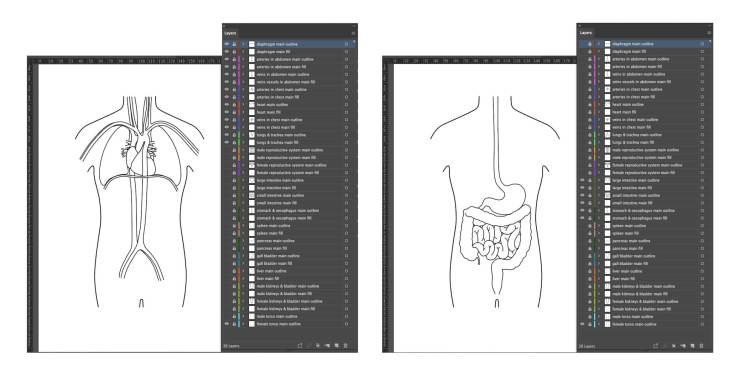
Simply by toggling the visibility of the layers in the file, it is possible to create a range of torso images, as shown below:
In the images shown so far, all of the layers have been locked, indicated by the padlock icon in the layer window. The contents of a locked layer cannot be edited but simply toggling the padlock off unlocks the layer and allows individual body parts to be edited.
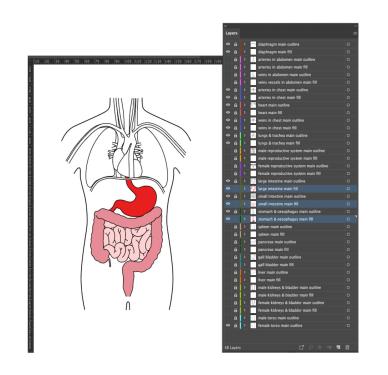 In the example shown here, the layers containing the fill colours for the digestive system have been unlocked and the colours changed from white to shades of red, to highlight these body parts.
All of the examples shown above have involved no complex editing of the contents of the layers. However, the example torso created for the oxytocin delivery figure did need additional editing to give the desired appearance. The basic file, with the required organs made visible, is shown below left. The resulting edited file is shown below right. Note that the vein and artery in the abdomen are now positioned behind the stomach and bladder and two additional layers (highlighted in blue) have been added to allow the urinary system to be intertwined with the reproductive system. All of the fill colours have also been changed, to give a full colour image.
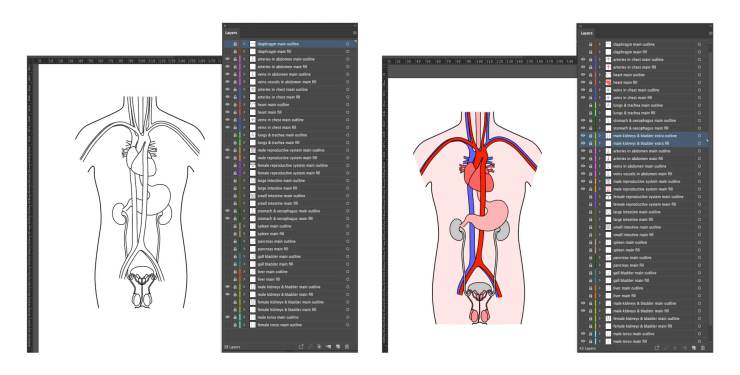
Organs can be moved in front or behind other body parts simply by moving the order of their layers in the layer window. However, to give the impression that organs are intertwined can require some additional drawing, such as creating extra areas of fill to cover intersecting outline. Keeping the fill on separate layers from the outline can make this process a little easier, although being very organised with both naming and positioning layers is key to achieving the desired result.
A selection of these images, with their associated Illustrator files, will be added to the online image library. However, the main Illustrator file, that contains all of the layers, can be used as the starting point for any of the images shown in this blog post, and for many more.

3 Replies to “Creating an adaptable anatomical torso”